Week 1/5 - 1/9
- Adam Sayres
- Jan 9
- 2 min read

It has been a while since my last blog post in November. This was due to an unfortunate streak of multiple different illnesses and then there was winter break. All the work that I did over those weeks I am going to try and cover in my next blog post so that one might be longer than normal.
Continuing with the steam engine project, Ben and I made the final two pieces which were the crank shaft and crank pin and those were pretty easy considering some of the failures on other parts and so they worked first try.


Now that those were done it was time to assemble the steam engine. It was really just a one person job so I didn't help out to much with this part but it seemed to be a bit frustrating for Ben when trying to find some of the tools and nuts needed to put it together. But finally progress was finished and when testing it the machine worked great. The only problem was that the screw holding the cylinder and upright together would start unscrewing because the cylinder was moving back and forth. The simple fix to this was something called "Thread Locker" which is basically a glue that holds the threads you need together so they don't come unscrewed. This put an end to the project that has been going on for months. Looking back Ben and I made the CAD model at the end of December but we didn't actually start any physical creation till the middle of November.


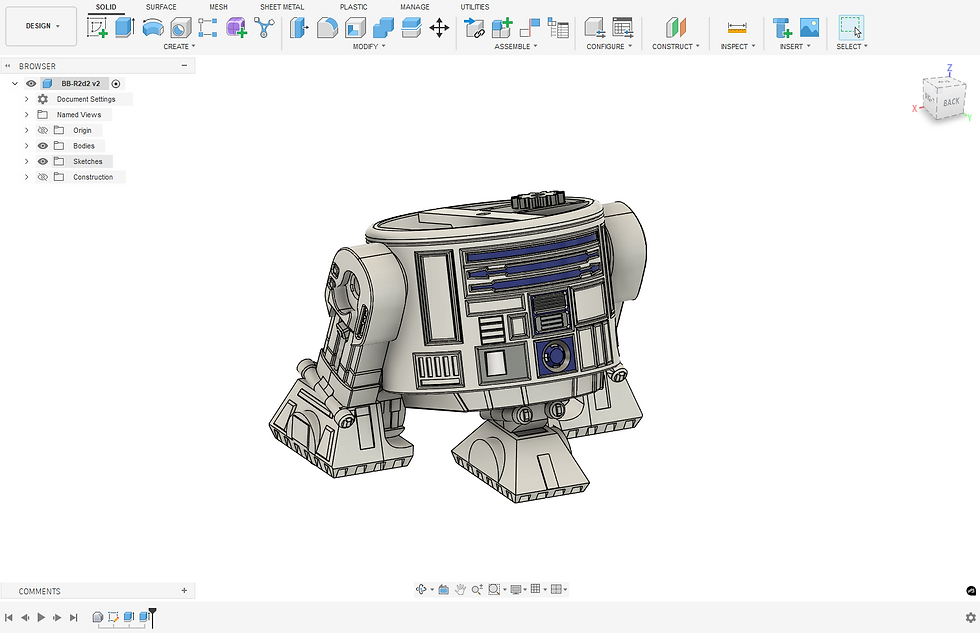
The next thing to work on and what will probably take up a good portion of the rest of the years is the RC R2D2 that I had started repairing. My teacher managed to find the original CAD files that he had printed the R2 from which makes things a lot easier especially since I am starting to plan out PCBs. I now can just make things to the correct sizes instead of having to guess based on a measurement of the physical part.
Another part of that is making the remote controller. Since the code for the head and the wheels is pretty much done I have to think about how the layout of the PCB that will go in the remote controller will be to fit the joysticks on it and also fit in the controller in a way that looks clean and is comfortable to hold. I decided to first start with a base model of the controller that I could edit later. I had to use a tutorial to help with parts of it because it seemed the best way to make it was using form tools which I have no clue how they work yet which might be something to look into. The rough model ending up looking pretty good and I also put in two models of the joysticks that I pulled off the GrabCad library to see how big the controller would need to be.


Comments