Week 11/10 - 11/14
- Adam Sayres
- Nov 14, 2025
- 2 min read

This week turned into a wide mix of projects. Ben and I started the week by finishing up the details for the trebuchet. I still needed to find another set of bearings for one of the axles. The sizes were weird for the size hole we wanted, but I found one that didn't have a giant OD and is just a little bit too thick, which won't impact much, fortunately.
Fusion makes it very annoying for two people to work on one thing at the same time, even when just making drawings. For these reasons, Ben and I decided he was just going to make all the drawings himself. With that spare time, I picked up where I left off on the 2.5-axis CAM milling course. I had done all the lessons but had gotten sidetracked into making the piece that Mr. L wanted to use as a substitute for the final challenge in the course. The last thing to do was take the post-course test. I got a 38/52 or about 73%. I'm going to go over the things I got wrong and try it again at a later date. I would like to at least be able to comfortably get above 90% before I even think of taking the actual test for it, especially because the questions on the actual test can be much harder and sometimes don't relate to something in the course.
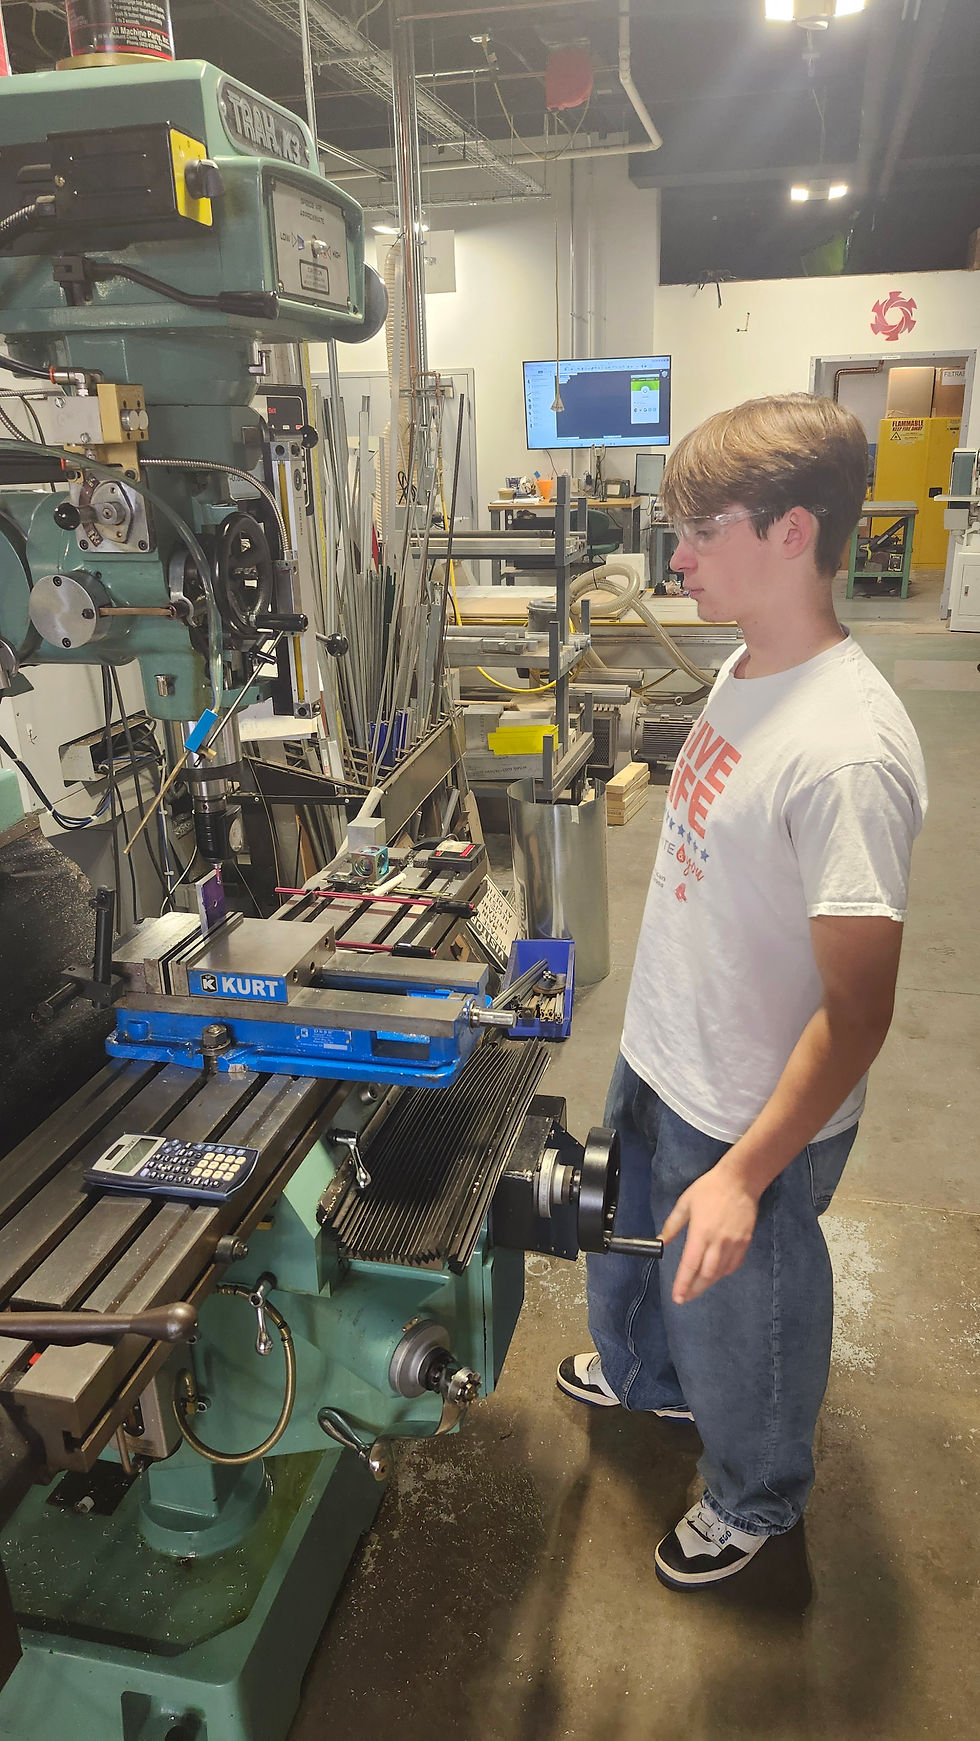
Once Ben had finished the drawings, we were considering what projects we should work on while waiting for Metal Fabrication to cut everything. Considering Ben was just doing drawings, I remembered that we had finished modeling and creating the drawings for the steam engine, and thought it might be a good idea to pick that back up. Mr. L gave us the go-ahead to continue. The first piece to make was the upright. This would be done on the mill. Since the stock wasn't to the perfect dimensions yet, I used the 1/2" endmill to get it down to the correct sizes.
The next part was to drill and tap the holes in the upright. There are 6 holes, with 3 of them needing to be tapped. The two on the bottom of the piece are to connect it to the base. The one small one on the top is where the air hose goes in, and the small hole that isn't tapped is for air to go in and out. The two big holes in the center are where different shafts and screws go for the rest of the engine.

The first part here was to center the drill bits over the correct spots for the holes. We used a center drill to spot the hole, and then we were able to go down with the drill bit. There were three holes we had to tap, so Mr. L taught us how to use the tap, which went very successfully.


Comments