Week 9/15 - 9/19
- Adam Sayres
- Sep 19, 2025
- 3 min read

Updated: Sep 25, 2025
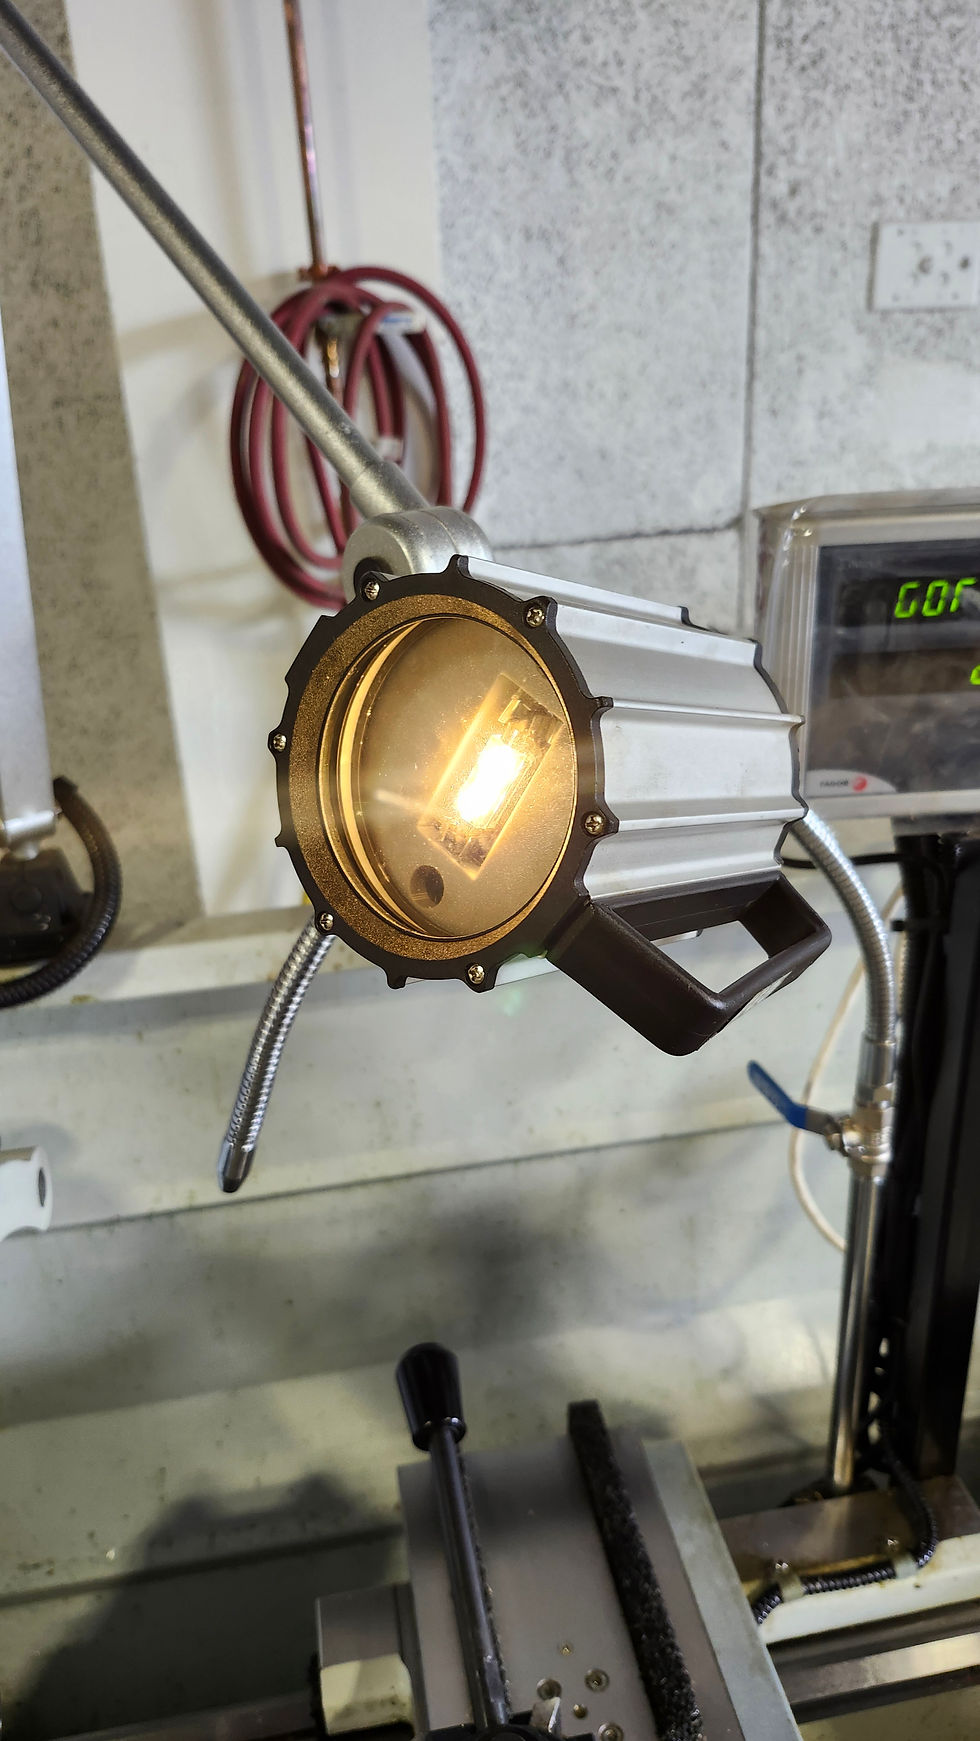
Most of my week was taken up by finishing the lamp on the lathe. The piece that I had made last week didn't end up working as the socket was set too far forwards meaning the glass piece couldn't be put on. When looking at the original piece that was in there I realized that this is way it was a cone shape. To rectify this I made a new mount where the socket would be inset while still allowing easy access to putting the LED in. With the new piece printed I put it in the lamp and everything fit great.

One thing that I wasn't able to directly print was the hole which the socket got attached with. The socket had a 3M bolt to hold it in place with the original design but here I couldn't print that hole because of the way it was now printing with the extension. This turned into a simple step of drilling a hole using a 1/8 inch drill bit. This is technically a bit wide for the bolt being 0.175 inches long instead of the 0.118 inches that a 3M screws is but I was fine with that considering even if I had been able to make the hole during the 3D print I still wanted some wiggle room. With everything ready to go the lamp was finally complete and I could move on to a new project.

Since I had little time left in the day on Wednesday after putting the lamp back together I decided it would be a good time to make a new website using Wix. This was a pretty simple process as they already have multiple templates for websites centered around blogs and all I had to do was change the images and layout slightly to be the way I wanted. The website isn't fully finished because I still need to edit the projects section to include images, better descriptions, and links to all of the blog posts that relate to those projects. This part may be kind of weird since all of those are on my old website in Wordpress and I didn't have any plans of transferring them over but we'll see as time goes on.
The next thing I am doing is going to be a big part of my time in robotics for the next 1-2 weeks. On Thursday Mr. L mentioned to us that there was a CAD certification test we could take for Fusion that would state that we could use the tools in Fusion to create a proper mechanical design. I decided to take a break from working on the RC R2D2 to do this instead. This test comes with a 12 hour course that helps to show you many of the different types of tools in Fusion by going over the basics and letting you explore on your own to get more familiar. As I am fairly new to CAD I got a 19/46 on the pre-test which was the same score two of my other classmates doing the course got.
I'm about an 1-1 1/2 hours into the course so far as I started it at the end of Wednesday and was working on it all of Thursday. I did have like a half hour break each day because the headphone jack on my PC broke and I had to figure out which were the correct settings for plugging the headphones into the monitor and then playing the sound from there. So far my favorite lessons have been learning how to use the joint tools to animate motion and how pieces would function in the real world and also using the form tools to make some pretty weird shapes. Hopefully I can get it done next week but I want to take it slow and truly gain a better understanding of how Fusion works and can be used.


Comments